
.png)
記事下部のプロフィールを作成する(Next.js)


ブログ記事の最下部に「この記事を書いた人」というパーツを追加する。誰がこの記事を書いたのか明示することでSEO的にも信頼性があがるとのことだ。今回、複数人で運営するようなメディアではなく、個人のブログで一人で運営しているサイトを前提にパーツを作ってみたので方法を紹介する(複数運営の場合は、microCMSのAPIを立てたほうがよさそう)
完成系イメージ
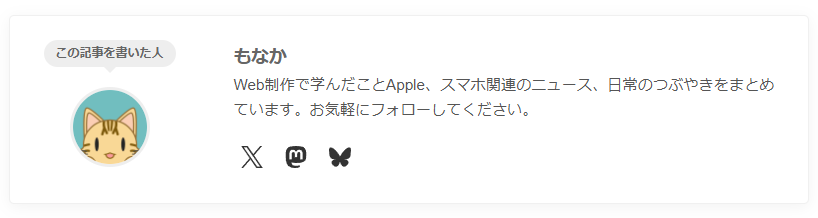
シンプルなプロフィールを作成してみた。アイコンはSVGを使っている。fontawasomeとかを利用するとよいかも
Profileコンポーネントの作成
以下のようなコンポーネントを作成した
// app/_components/Profile.tsx
import Image from "next/image";
import Link from "next/link";
import styles from "./index.module.css";

export default function Profile() {
  const author = {
    name: "名前",
    description:
      "テキストテキストテキストテキストテキストテキストテキストテキストテキスト",
    avatar: "/xxxxxxxx.png",
    sns: {
      x: "https://x.com/xxxxxxxx",
      mastodon: "https://mastodon.social/@xxxxxxxx",
      bluesky: "https://bsky.app/profile/xxxxxxxx.bsky.social",
    },
  };

  return (
    <div className={styles.container}>
      <div className={styles.leftSide}>
        <div className={styles.label}>この記事を書いた人</div>
        <Image
          src={author.avatar}
          alt={author.name}
          width={80}
          height={80}
          className={styles.avatar}
        />
      </div>

      <div className={styles.rightSide}>
        <h3 className={styles.name}>{author.name}</h3>

        <p className={styles.description}>{author.description}</p>

        <div className={styles.snsLinks}>
          {author.sns.x && (
            <Link
              href={author.sns.x}
              target="_blank"
              rel="me"
              className={`${styles.snsIcon} ${styles.x}`}
            >
              <Image
                src="/icon_x.svg"
                alt="X"
                width={22}
                height={22}
                className={styles.icon}
              />
            </Link>
          )}
          {author.sns.mastodon && (
            <Link
              href={author.sns.mastodon}
              target="_blank"
              rel="me"
              className={`${styles.snsIcon} ${styles.mastodon}`}
            >
              <Image
                src="/icon_mastodon.svg"
                alt="Mastodon"
                width={22}
                height={22}
                className={styles.icon}
              />
            </Link>
          )}
          {author.sns.bluesky && (
            <Link
              href={author.sns.bluesky}
              target="_blank"
              rel="me"
              className={`${styles.snsIcon} ${styles.bluesky}`}
            >
              <Image
                src="/icon_bluesky.svg"
                alt="Bluesky"
                width={22}
                height={22}
                className={styles.icon}
              />
            </Link>
          )}
        </div>
      </div>
    </div>
  );
}
続いてCSSは以下のようにしてみた。(色々調整しながら作ったので、汚い状況だけども・・)
.container {
  display: flex;
  background-color: #fff;
  border-radius: 5px;
  box-shadow: 0 3px 15px rgba(0, 0, 0, 0.05);
  border: 1px solid #f0f0f0;
  margin-top: 40px;
  overflow: hidden;
  max-width: 100%;
}

.leftSide {
  flex: 0 0 200px;
  padding: 24px;
  display: flex;
  flex-direction: column;
  align-items: center;
  text-align: center;
}

.label {
  position: relative;
  background-color: #eee;
  color: #666;
  font-size: 0.75rem;
  padding: 4px 12px;
  border-radius: 20px;
  margin-bottom: 20px;
  font-weight: bold;
}

.label::after {
  content: "";
  position: absolute;
  top: 100%;
  left: 50%;
  margin-left: -6px;
  border: 6px solid transparent;
  border-top: 6px solid #eee;
}

.avatar {
  border-radius: 50%;
  border: 3px solid #eee;
  margin-bottom: 12px;
}

.name {
  margin: 0;
  font-size: 1.1rem;
  font-weight: bold;
  color: #666;
}

.role {
  margin: 4px 0 0;
  font-size: 0.8rem;
  color: #777;
  font-weight: bold;
}

.rightSide {
  flex: 1;
  padding: 24px;
  display: flex;
  flex-direction: column;
  justify-content: center;
}

.description {
  font-size: 0.95rem;
  line-height: 1.7;
  color: #555;
  margin-bottom: 16px;
}

.snsLinks {
  display: flex;
  gap: 12px;
}

.twitterIcon {
  display: flex;
  align-items: center;
  justify-content: center;
  width: 36px;
  height: 36px;
  background-color: #1da1f2;
  color: white;
  border-radius: 8px;
  text-decoration: none;
  font-size: 1.2rem;
  transition: transform 0.2s;
}

.twitterIcon:hover {
  transform: translateY(-2px);
}

.snsLinks {
  display: flex;
  gap: 8px;
  flex-wrap: wrap;
}

.snsIcon {
  display: flex;
  align-items: center;
  justify-content: center;
  width: 36px;
  height: 36px;
  border-radius: 8px;
  transition: all 0.2s ease;
}

.snsIcon:hover {
  background-color: #f9f9f9;
  transform: translateY(-2px);
}

.icon {
  filter: brightness(0) saturate(100%) invert(20%);
  display: block;
  transition: opacity 0.2s;
}

.snsIcon:hover .icon {
  filter: brightness(0) saturate(100%) invert(0%);
}

@media (max-width: 600px) {
  .snsLinks {
    justify-content: center;
    gap: 8px;
    margin-top: 8px;
  }
}

@media (max-width: 600px) {
  .container {
    flex-direction: column;
    margin-top: 30px;
  }

  .leftSide {
    flex: none;
    width: 100%;
    padding: 20px 16px 12px;
    border-right: none;
  }

  .label {
    margin-bottom: 12px;
    font-size: 0.7rem;
  }

  .avatar {
    width: 60px !important;
    height: 60px !important;
    margin-bottom: 8px;
  }

  .name {
    font-size: 1rem;
  }

  .rightSide {
    padding: 16px;
  }

  .description {
    font-size: 0.85rem;
    line-height: 1.6;
    margin-bottom: 12px;
  }

  .snsLinks {
    justify-content: center;
    gap: 10px;
  }

  .twitterIcon {
    width: 32px;
    height: 32px;
  }
}
まとめ
プロフィールのコンポーネントを今回新たに追加してみたが、意外と簡単にできた。これでSEO的に評価されると嬉しいけど、どうなんだろう。効果のほどがよくわからないけども、いずれどこかで効いてくるだろうと期待して作ってみた。引き続きカスタマイズを頑張ってみたいと思う。
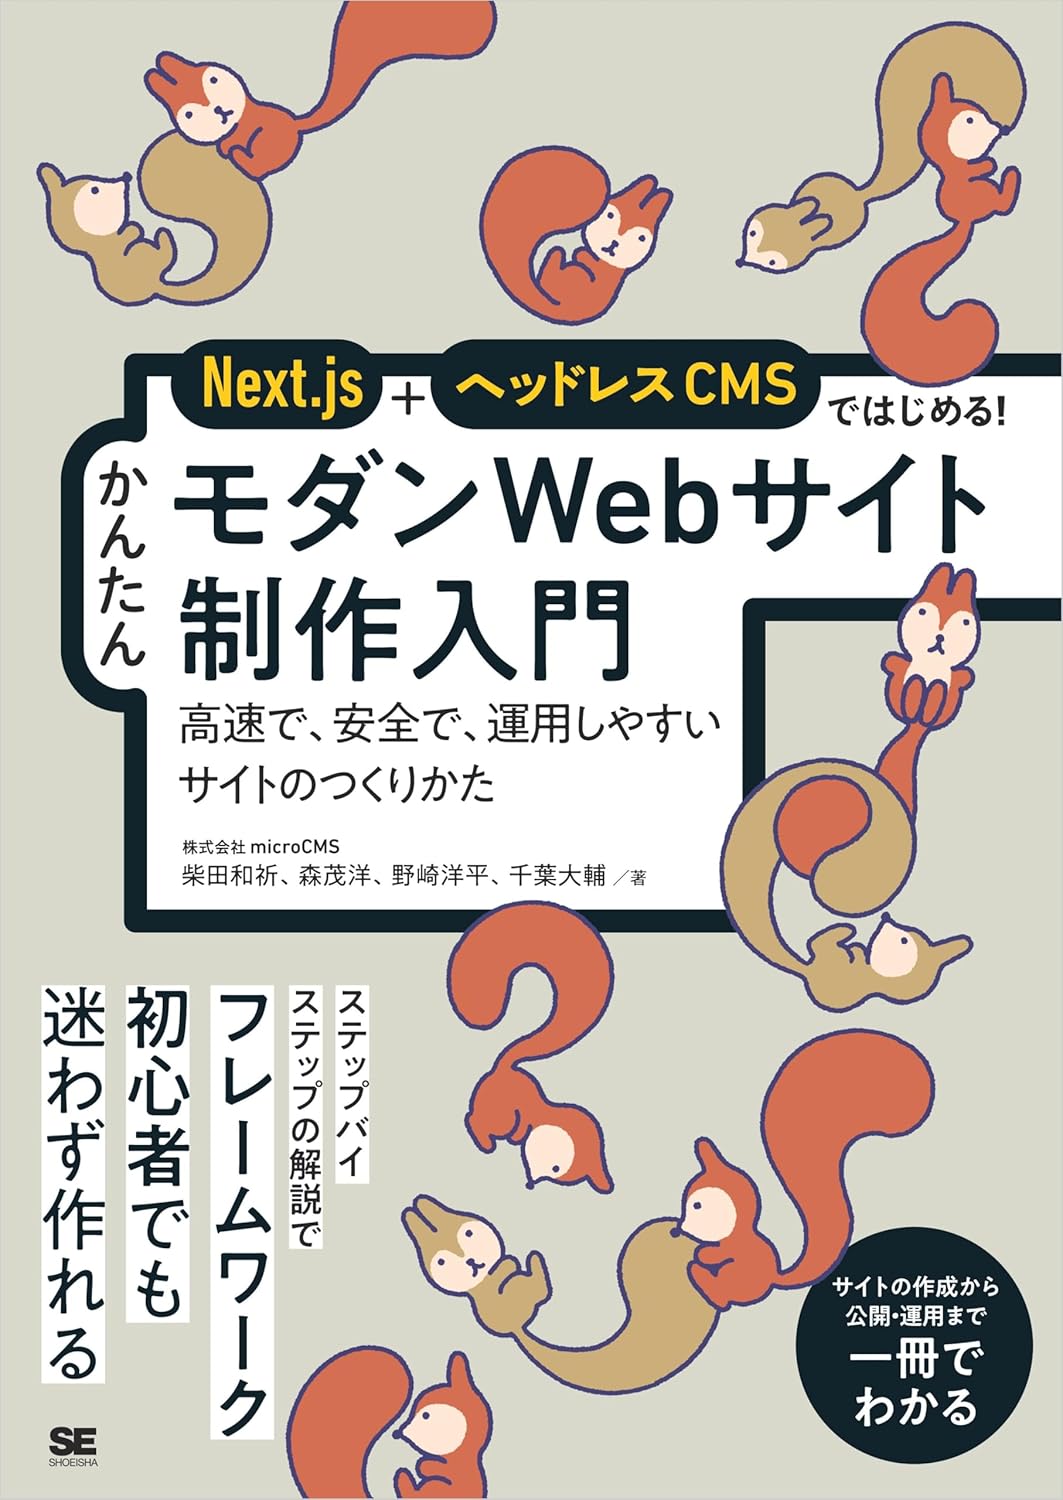
Next.js+ヘッドレスCMSではじめる! かんたんモダンWebサイト制作入門 高速で、安全で、運用しやすいサイトのつくりかた
\ この記事をシェアする /



この記事を書いた人
もなか
Web制作で学んだことApple、スマホ関連のニュース、日常のつぶやきをまとめています。お気軽にフォローしてください。


.png)
.png)
.png)